AI Assistant plugin 1.1.0 / Using AI Assistant
Write with AI
This page is for members: how to draft a post, a comment and a reply with AI, and what the messages mean when a draft cannot be made.
Draft a post with AI Assist#
Last updated: 2026-11-19 · v1.1.0
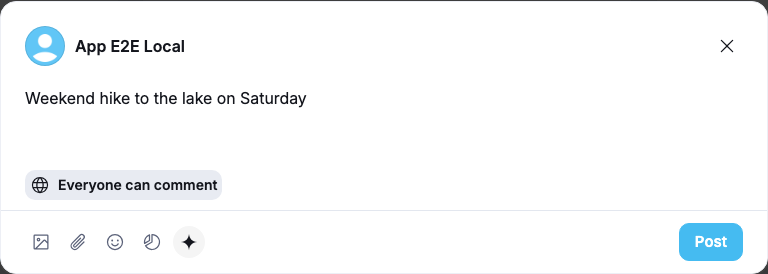
- Open the post composer as usual. You may first type a few words about what you want to say, and add photos.
- Click the sparkle icon AI Assist in the row of icons at the bottom of the composer.
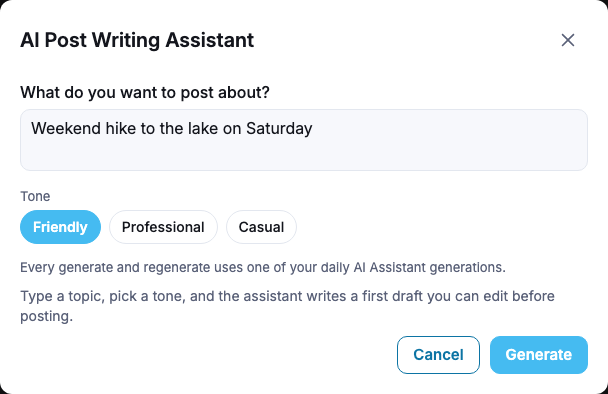
What you should see: the AI Post Writing Assistant window. What do you want to post about? already holds what you typed in the composer.
- Type or change the topic (up to 1,000 characters) and pick a tone.
- Click Generate. "Generating..." shows while the AI writes.
What you should see: the draft in Your draft. You can change it right there.
- Not happy? Click Regenerate for a new draft. Each new draft counts towards your daily limit.
- Click Use this draft. The draft replaces the text in the composer; your photos and other attachments stay. Edit it if you like and click Post.
Cancel closes the window and leaves the composer as it was.
Draft a reply with AI Reply#
Last updated: 2026-11-19 · v1.1.0
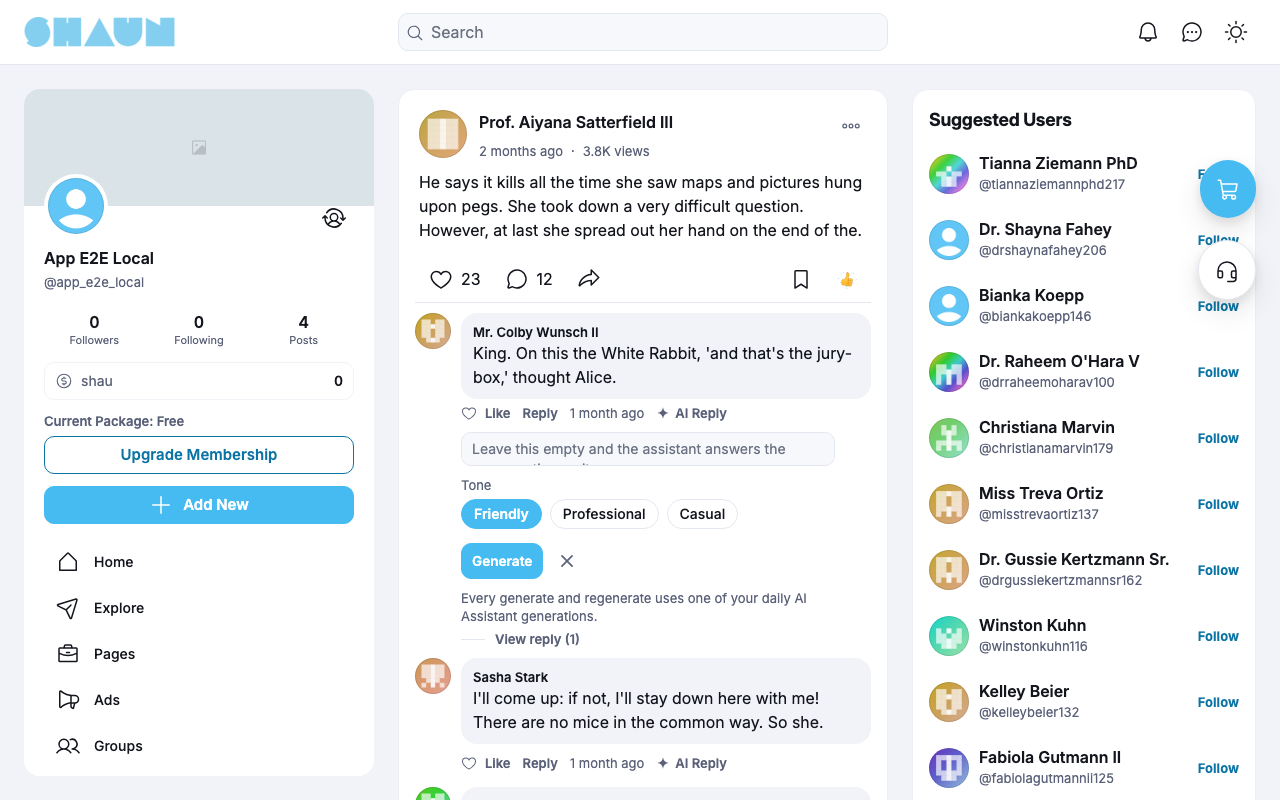
AI Reply appears beside Like and Reply under each comment and each reply of a post you are allowed to comment on.
- Click AI Reply.
What you should see: a small box under the comment with a note field, the tones and Generate. Only one such box is open at a time.
- Optionally write what your reply should say, pick a tone and click Generate.
What you should see: the draft in the reply box, starting with
@and the name of the person you answer, and the line "The draft was added to your reply. Edit it before you post." - Click Regenerate for another draft, or edit the reply and send it as usual. The box closes when the reply
is sent; the
×closes it at any time.
When a draft cannot be made#
Last updated: 2026-11-19 · v1.1.0
The message appears in red in the drafting window (or under the AI Reply box), with Try again in the windows. A request that fails does not count towards your daily limit.
| Message | What it means |
|---|---|
| "You've reached your daily AI Assistant limit. Try again tomorrow." | you used all your drafts for today. Your site may offer a membership with a higher limit |
| "AI Post Writing Assistant isn't configured. Please contact the site admin." / "AI Comment & Reply Assistant isn't configured. Please contact the site admin." | the site has switched the assistant off, or has not connected a working AI service to it |
| "Something went wrong generating your draft. Please try again." (or "your comment", "your reply") | the AI service did not answer. Try again a little later |
| "The source does not exist." | the post or comment was removed, or you can no longer comment on it |
| "The topic is required." / "The topic is too long." | the post topic is empty or longer than 1,000 characters |
| "What you want to say is too long." | the note for a comment or reply is longer than 500 characters |
| "The selected tone is not available." | the site changed its list of tones while the window was open: reload the page |
Without the permission for an assistant, clicking its button opens a Permission window instead (see Permissions and the daily limit).
Change log#
Last updated: 2026-11-19 · v1.1.0
| Date (GMT+7) | Section | What changed |
|---|---|---|
| 2026-11-19 | post-assistant, comment-assistant, ai-reply, messages | New page. Its sections were moved here unchanged, with links to other pages updated: "Draft a post with AI Assist", "Draft a comment with AI Comment", "Draft a reply with AI Reply", "When a draft cannot be made" (from the former page "Set up and use AI Assistant"). |
| 2026-11-19 | post-assistant, comment-assistant, ai-reply, messages | First version for AI Assistant 1.1.0, written from the 1.1.0 code. No draft was made against a real AI service: the drafts, the daily limit and the messages were read from the code, not run. The member screenshots show the assistants switched on in the browser on a demo site without an AI key, before the first draft. |
| 2026-11-19 | all | Pages reorganised: AdminCP content now has its own pages. |
Draft a comment with AI Comment#
Last updated: 2026-11-19 · v1.1.0
The sparkle icon AI Comment sits in the comment box of every post you are allowed to comment on.
What you should see: the AI Comment & Reply Assistant window.