Before getting started, make sure you have created a Stripe account.
Create Stripe account #
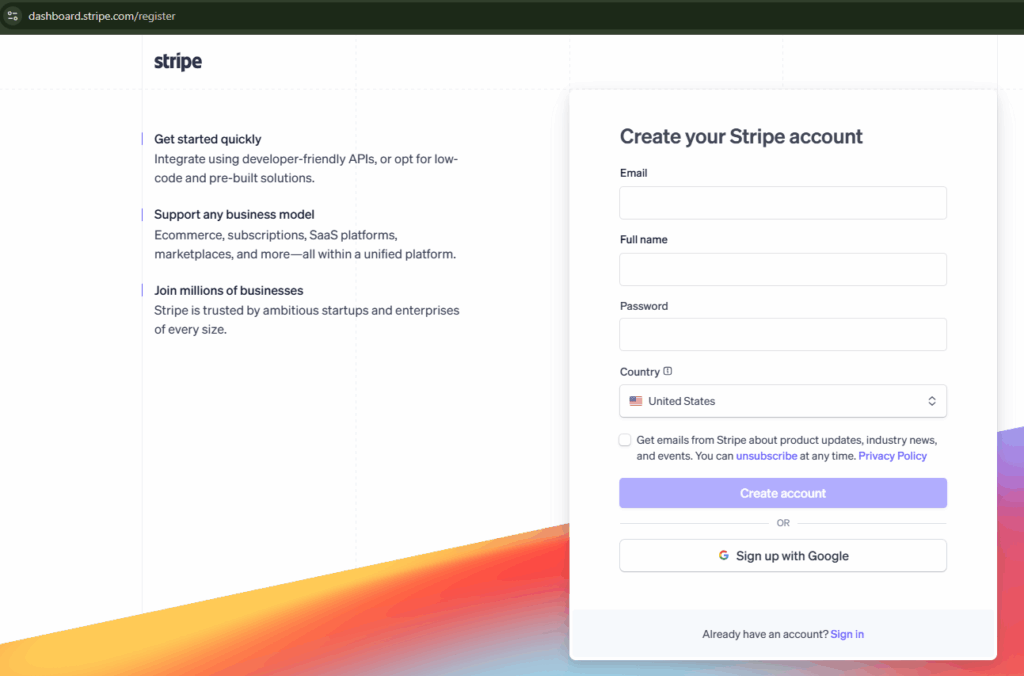
Go to https://dashboard.stripe.com/register
- Sign up new account
- Verify email
- Complete business info (company name, bank account, identity)
- Activate account
You must finish verification before going Live mode (test mode works without full verification).
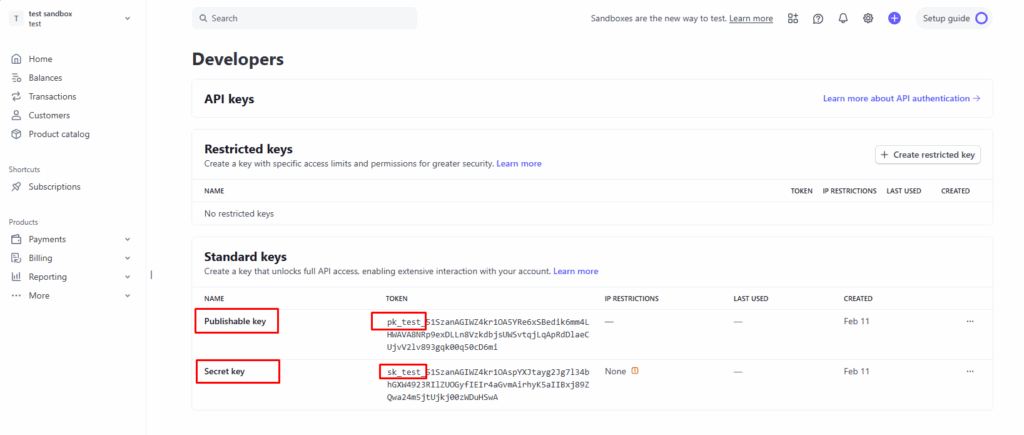
Get API Keys #
Enabling Stripe allows members to deposit funds into their eWallet using the Stripe payment gateway.
- Go to: https://dashboard.stripe.com
- Log in to your Stripe Dashboard.
- Click Developers
- Click API Keys

You will see:
Test Mode keys (for testing)
Publishable key  → pk_test_xxxxx
Secret key       → sk_test_xxxxx

Live Mode keys (real money)

Publishable key  → pk_live_xxxxx
Secret key       → sk_live_xxxxx
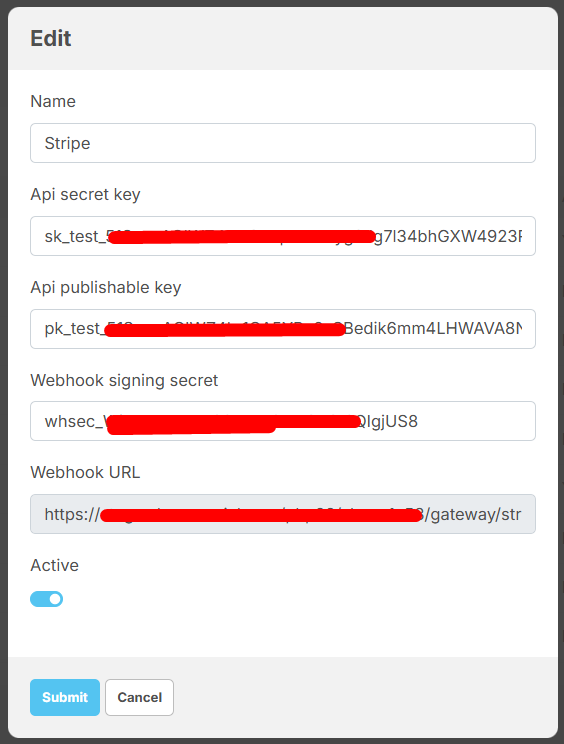
Add keys into the system #
Admin panel → Site settings → Gateway manager → Click on the “Edit” option of the Stripe.
Fill:
- Publishable Key = pk_xxx
- Secret Key = sk_xxx
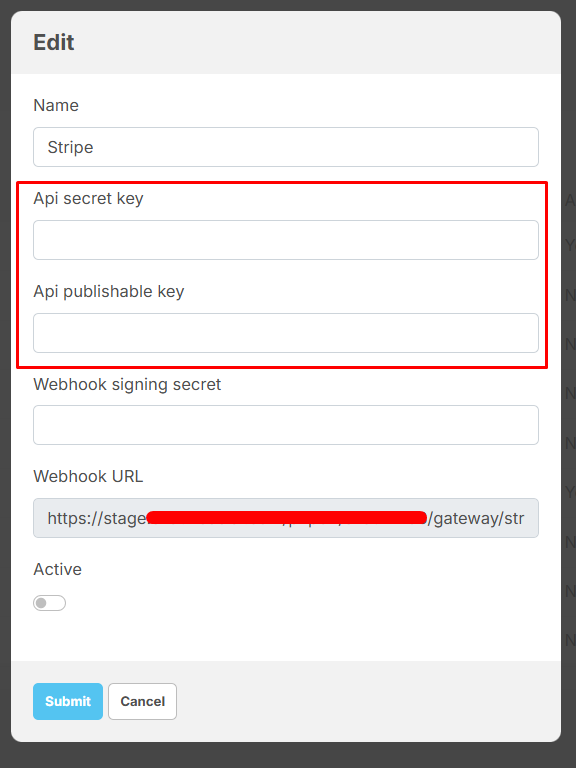
Please Copy Webhook URL and go to Setup Webhook
Setup Webhook #
Steps:
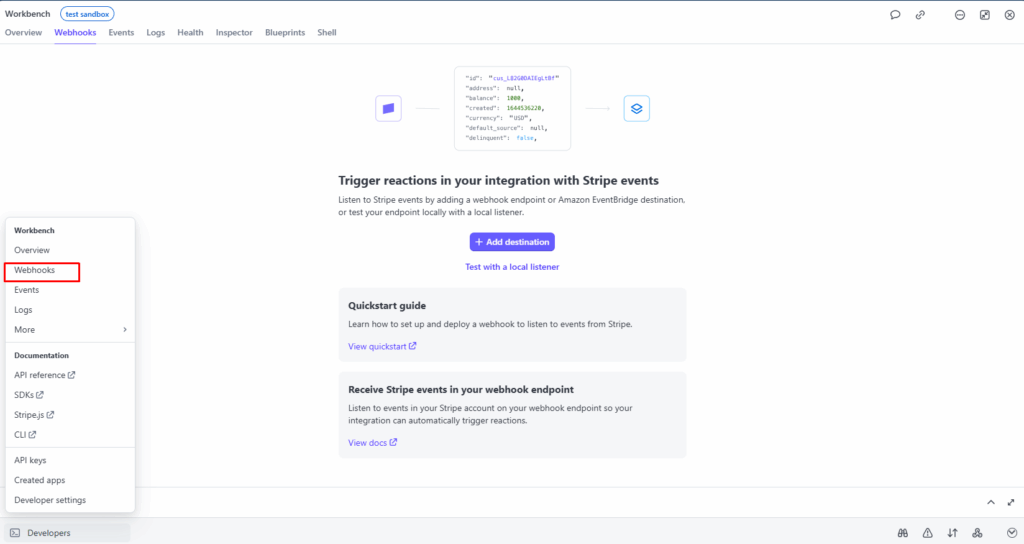
1. Developers → Webhooks
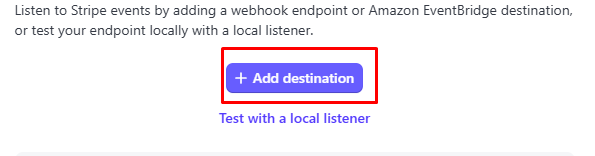
2. Click Add Destination
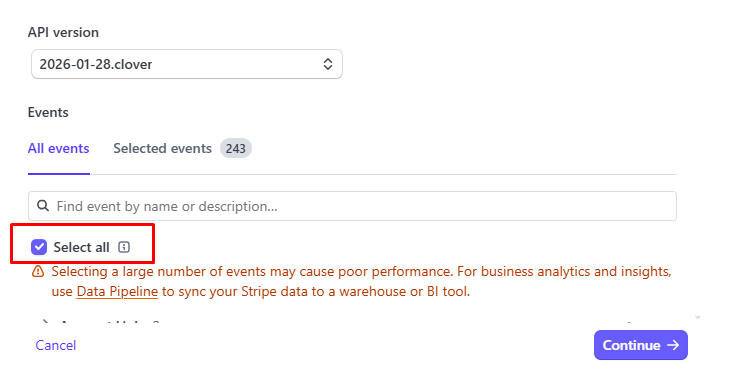
3. Check Select all → Continue
4. Select Webhook endpoint → Continue

5. Continue

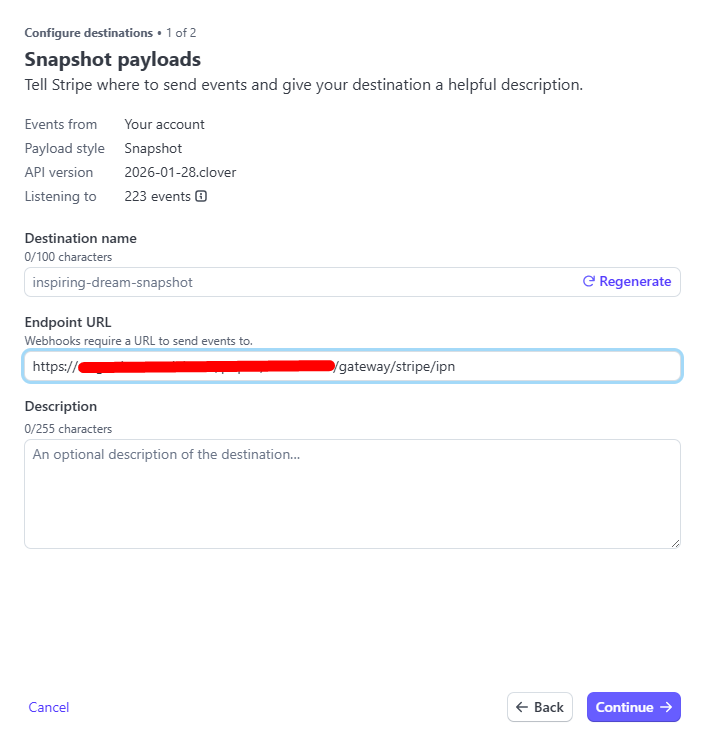
6. at Snapshot payloads
Paste Endpoint URL (webhook URL) → Continue
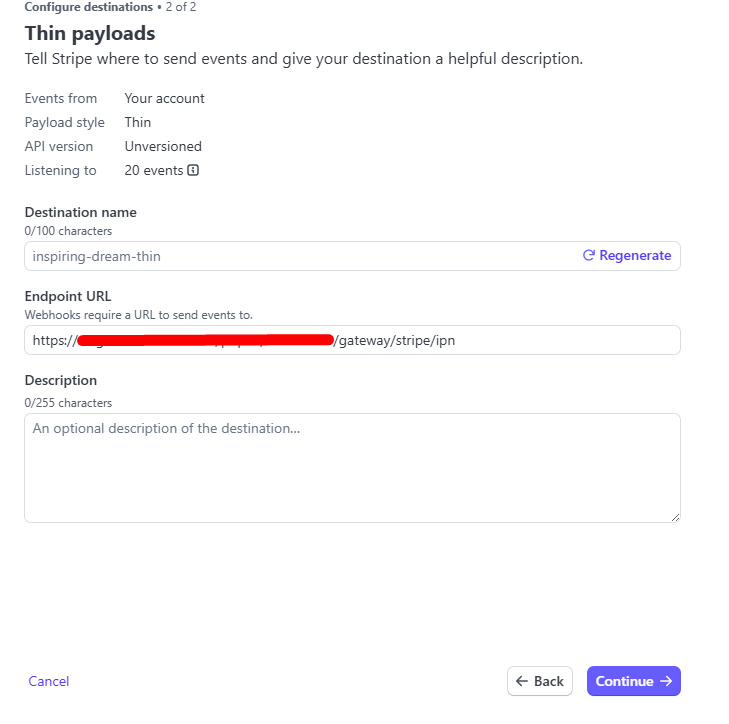
7. at Thin payloads
Paste Endpoint URL (webhook URL) → Continue
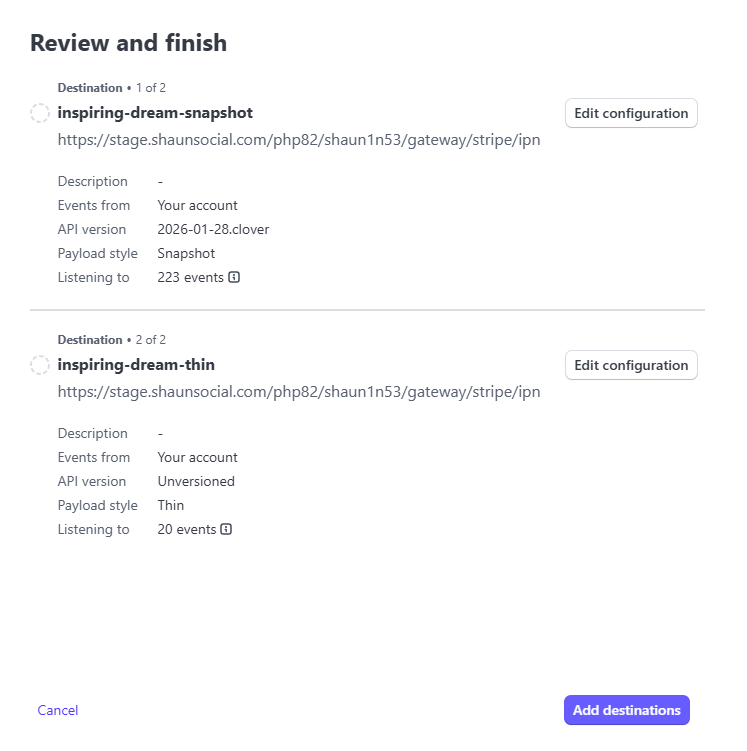
8. at Review and finish → Click Add destinations
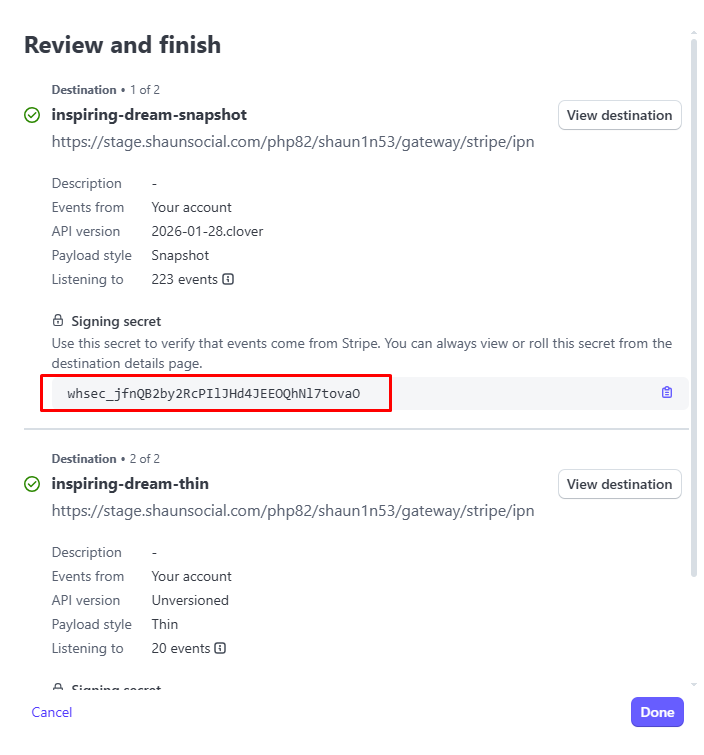
9. Copy Signing secret whsec_xxxx → Click Done
10.
- Go to Admin panel → Site settings → Gateway manager → Click on the “Edit” option of the Stripe
- Paste Signing secret to Webhook signing secret → Active ON
- Submit
Active: allow you to enable/disable the Stripe payment gateway.