ShaunSocial user guide 1.5.6 / AdminCP
AdminCP basics
The AdminCP is the control panel of your ShaunSocial site: every setting, member and feature is managed there. This page shows how to open it, what the dashboard tells you, when to use the Clear cache button, and how the three kinds of admin account (root, super admin and moderator) differ.
Opening the AdminCP#
Last updated: 2026-11-17 · v1.5.6
The AdminCP address#
The AdminCP lives at your site's address followed by the admin prefix you chose when you installed
ShaunSocial (see Install ShaunSocial in your browser). The prefix is
admin unless you changed it, so the sign-in page is usually https://example.com/admin/login.
With the prefix myadmin it is https://example.com/myadmin/login.
- Open
https://example.com/<prefix>/loginin your browser. - Enter the Email address (not the user name) and Password of an admin account and click
Login.
What you should see: the Dashboard. Otherwise the page shows one of these messages: "The email or password was incorrect." (no account has that e-mail address), "Your email or password was incorrect." (wrong password, or the account is not an admin account), or "The email must be a valid email address."
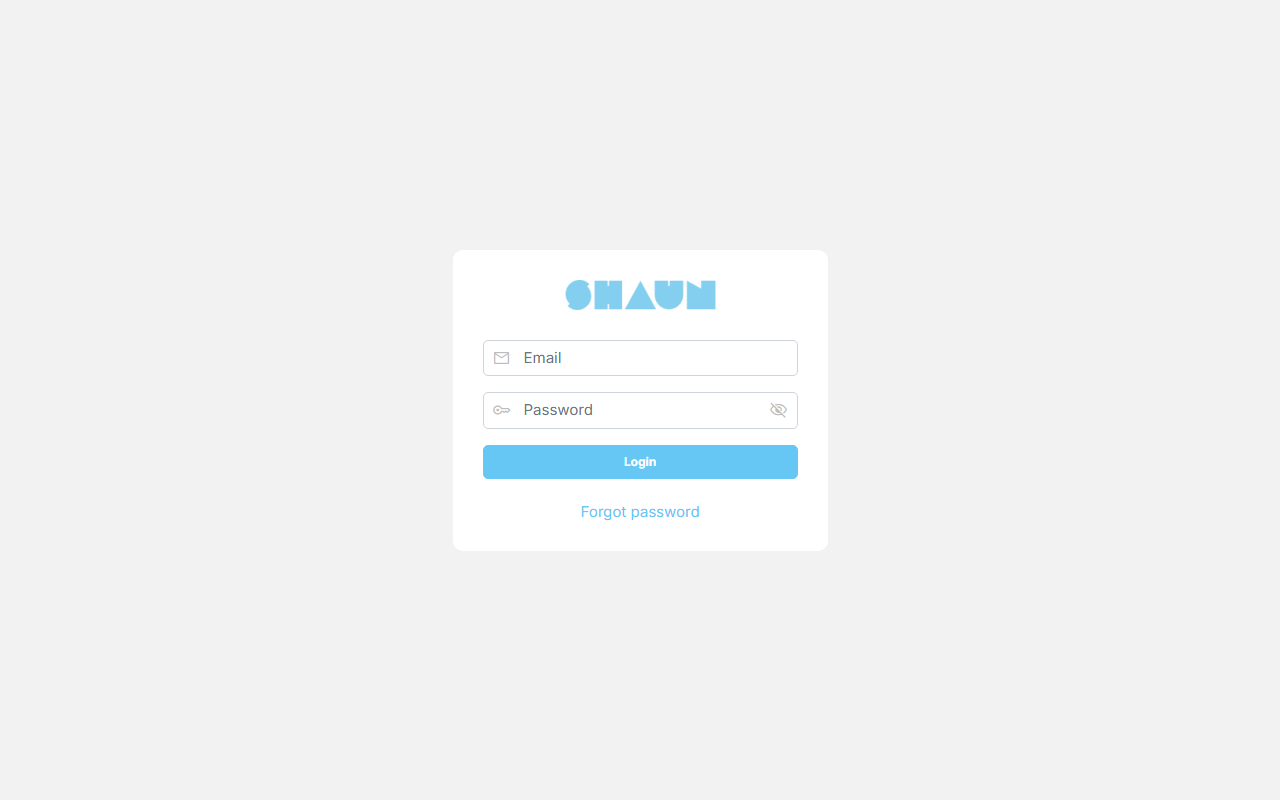
- Who can sign in: accounts whose role is Super admin or a moderator role (see Root, super admin and moderator). The account must be active; an inactive admin account is sent back to the sign-in page.
- Forgot password under the form opens your site's normal password recovery page. Admins reset their password the same way members do.
- From your site: when you are signed in to your site with an admin account, the box with your name in the left sidebar shows a Go to admin panel link. It opens the AdminCP in a new tab; sign in there if you are asked to.
- Signing out: the exit icon at the top of the AdminCP menu, next to your logo.
The admin prefix is the APP_ADMIN_PREFIX line in the site's .env file. If the owner has
forgotten it, read it there. To move the AdminCP to another address, change that line; the old address stops working
at once. Do not run php artisan config:cache afterwards (see the "no configuration cache" box in
After installing).
Finding your way around#
- The menu on the left is grouped under the headings Settings, Members, Moderation, Payments, Features and System. Plugins you install add their own entries under Plugins. Each admin sees only the entries their role allows.
- The Search box at the top finds settings by name: type part of a setting's name (for example
upload) and click a result to jump to that setting under Site Information or General Configuration. - Your picture at the top right opens your own profile on the site.
- The buttons at the top of each page: Visit site opens your site in a new tab; Clear cache is described in Clearing the cache.
- The bottom of the menu shows Language: with your current language. Click it and pick another language in Change Language to use the AdminCP in that language. This changes your account's language, so your site appears in that language for you too.
- Your version is shown at the bottom of every page, next to Current Version.
Settings save themselves#
On Site Information, General Configuration and the dashboard's Notes box there is no Save button. A setting is saved as soon as you leave the field (click elsewhere or press Tab), or the moment you tick a box or pick a choice. A saved field turns light yellow. When you choose an image, it uploads at once and the page reloads with "Setting has been successfully updated." If a value is refused, the page reloads and shows the reason at the top.
Other AdminCP screens (create and edit forms) have their own Submit or Save Changes button.
Dashboard, chart and notes#
Last updated: 2026-11-17 · v1.5.6
The dashboard opens after you sign in. Super admins see the figures below. Moderators see only the message "Welcome to admin dashboard" and use the menu to reach the screens their role allows.
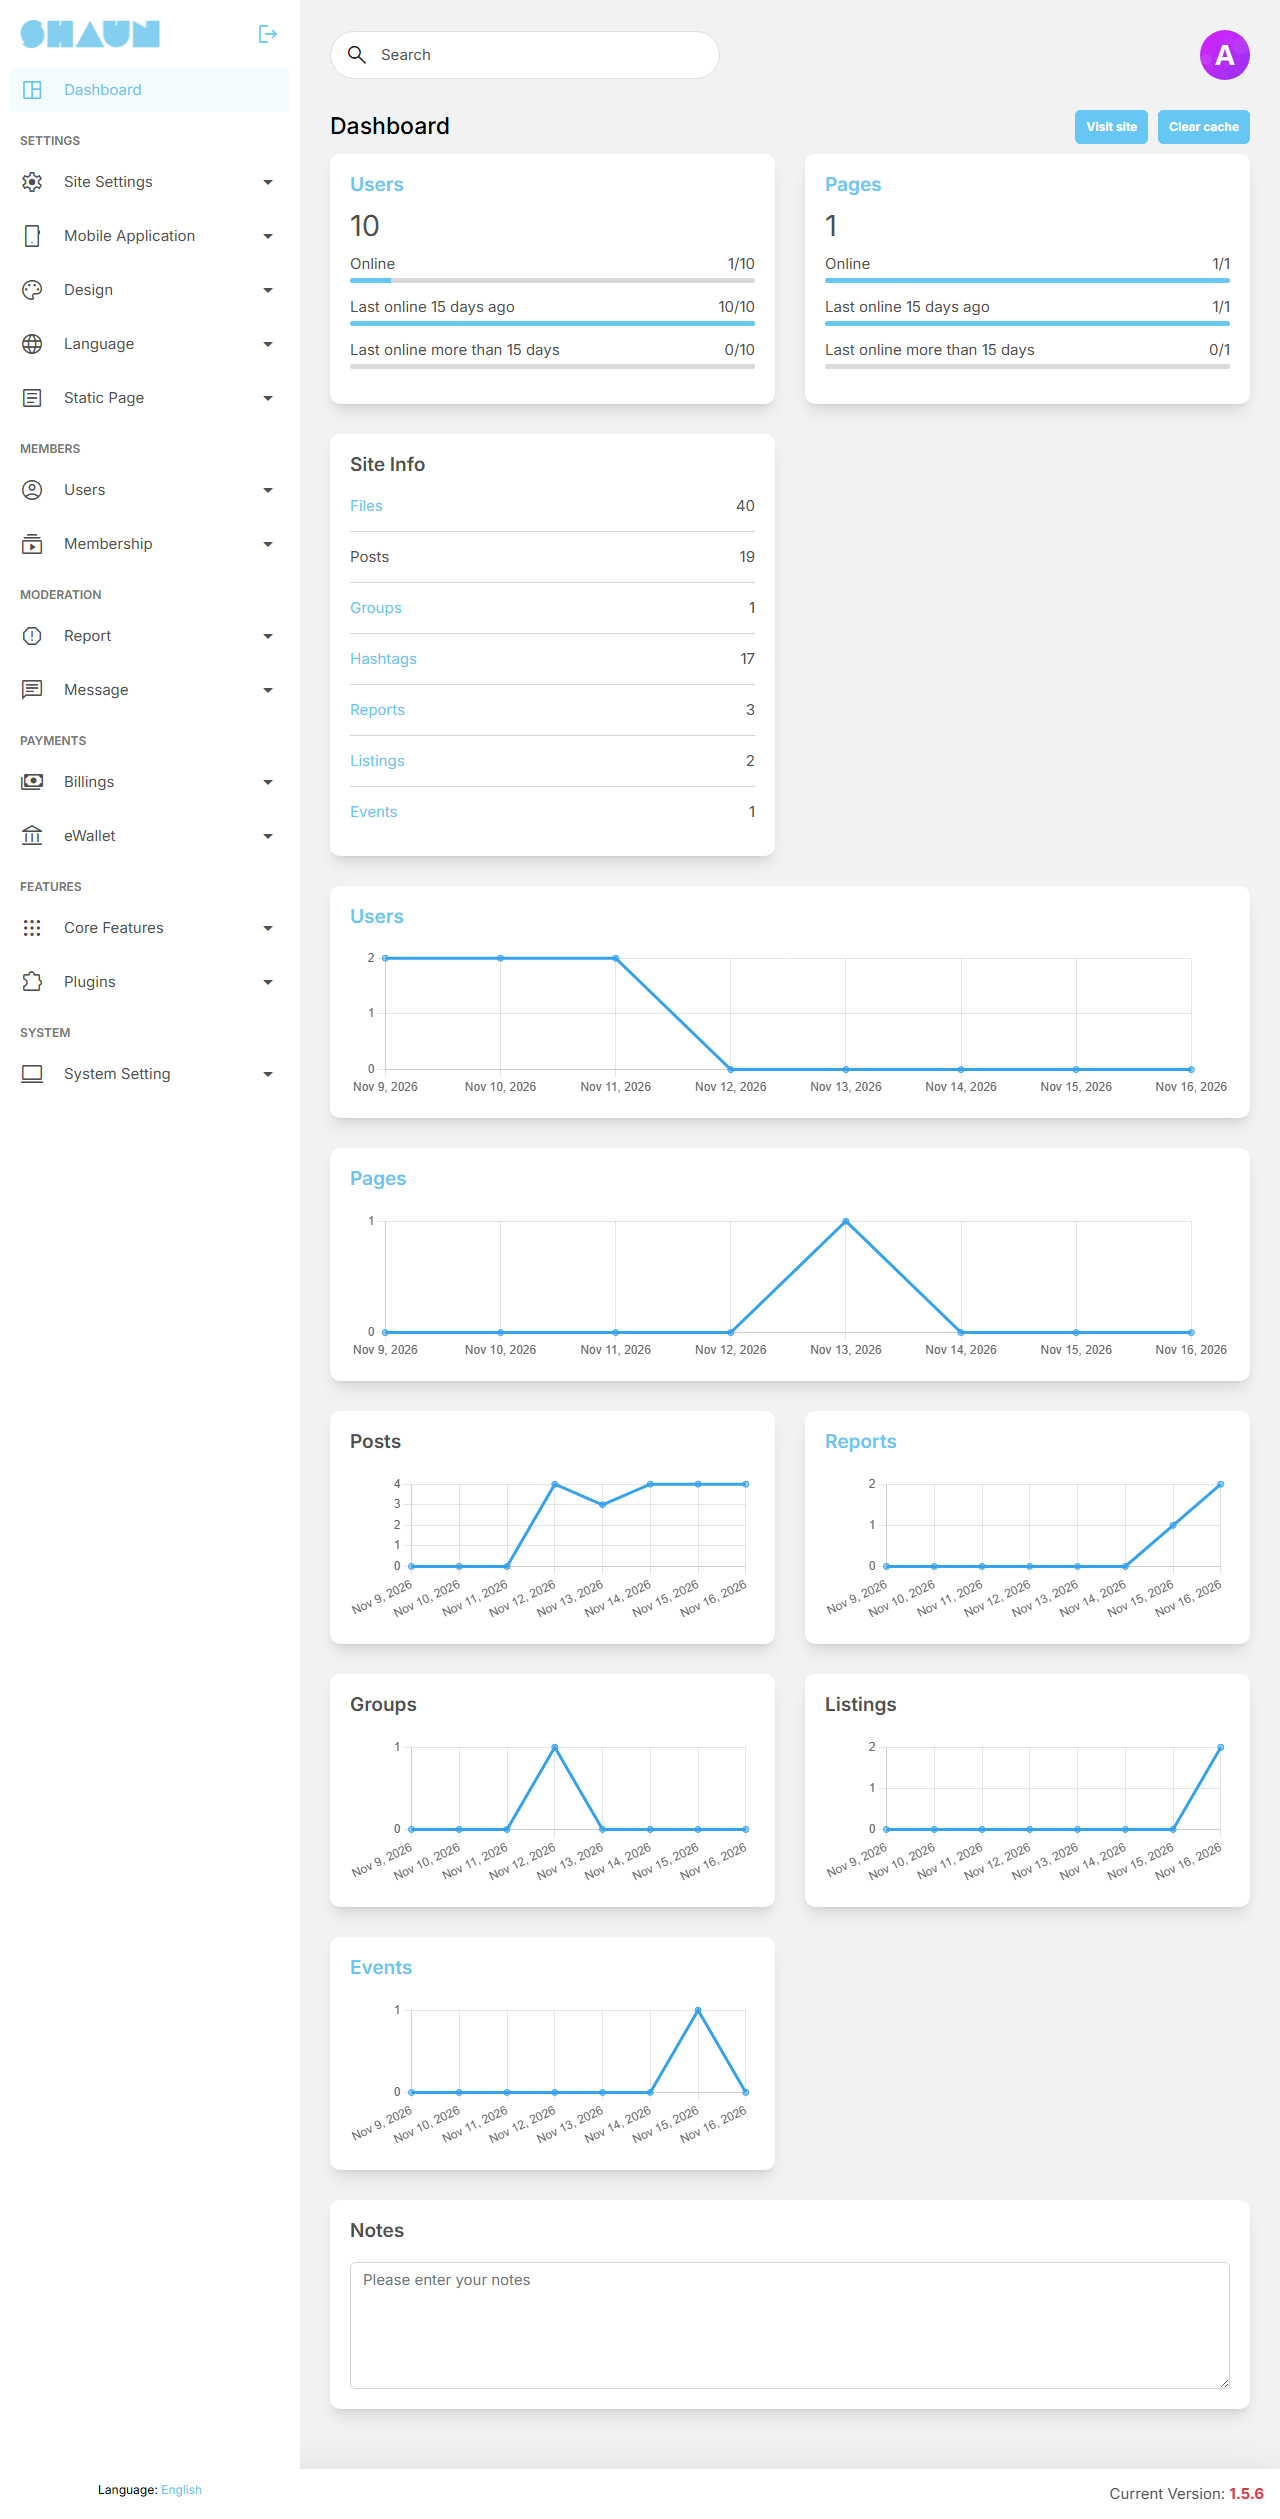
The figures#
| Box | What it shows |
|---|---|
| Users | the number of member accounts, and three bars: Online (members who used the site or app in the last hour), Last online 15 days ago (members who used it in the last 15 days) and Last online more than 15 days (everyone else) |
| Pages | the same three bars for business pages |
| Site Info | totals of Files, Posts, Groups, Hashtags, Reports and Marketplace Listings, plus Events while the Events feature is switched on. Plugins can add rows of their own |
| Charts | one chart each for new Users, Pages, Posts, Reports, Groups, Listings and (while Events is on) Events, per day, for the eight days up to yesterday |
The figures are recounted every 15 minutes, so a new member may take up to a quarter of an hour to appear. A box title that is a link (for example Users) opens the matching management screen.
Notes#
The Notes box at the bottom is a shared notepad for your admin team: what you type is saved when you click outside the box, and every super admin sees the same text. Use it for reminders such as "renew the SSL certificate in March". Members never see it.
Clearing the cache#
Last updated: 2026-11-17 · v1.5.6
To stay fast, your site keeps ready-made copies of settings, menus, translations and page parts (the cache). After most changes in the AdminCP the site refreshes these copies by itself. When a change does not show on your site, clear the cache.
- Click Clear cache at the top of any AdminCP page (next to Visit site).
What you should see: the message "All caches have been cleared."
- Reload your site in the browser. If you still see the old version, clear your browser's own cache once, or open the site in a private window.
Clearing the cache also makes every visitor's browser load the newest stylesheet and plugin files, and reads the installed plugins' details again. It is safe to use at any time; the first pages after it may load a little slower while the copies are rebuilt.
Typical moments to use it: after changing theme colours or a language phrase that does not show, after installing or updating a plugin, and after your server administrator changed files on the server.
Every admin sees the button, but it works only for super admins and for moderators whose role has the Cache Setting permission; other moderators get "You do not have permission." The cache type itself (file, Redis or Memcached) is set in AdminCP → System Setting → Cache Setting; what a faster cache needs on the server is in A Redis or Memcached server.
Root, super admin and moderator#
Last updated: 2026-11-17 · v1.5.6
There are three kinds of admin account. What decides the kind is the account's role, set in AdminCP → Users → Manage Users → Edit → Role.
- Root: the admin account created by the installer (the very first account on the site). There is only one. It has every right, its role cannot be changed and it cannot be deleted.
- Super admin: any account with the role Super admin, which comes with the site. Super admins see the whole AdminCP.
- Moderator: any account whose role has the Moderator switch on. No such role exists after installing; you create one. Moderators see only the AdminCP screens you allow for their role.
What each can do#
| Root | Super admin | Moderator | |
|---|---|---|---|
| Sign in to the AdminCP | yes | yes | yes |
| Dashboard figures, charts and notes | yes | yes | no, a welcome message only |
| AdminCP screens | all | all | only the ones ticked for the role |
| Manage User Roles (create roles, set permissions) | yes | yes | no |
| Give an account the Super admin role | yes | no | no |
| Give an account a moderator role | yes | yes | no (member roles only) |
| Edit, deactivate or delete a super admin | yes | no | no |
| Edit, deactivate or delete a moderator | yes | yes | no |
| Edit, deactivate or delete a member | yes | yes | yes, with the Manage Users permission |
On the site itself, super admins and moderators can open any member's profile, including private ones, and members cannot block them.
Make someone a moderator#
- Sign in as root or as a super admin and open AdminCP → Users → Manage User Roles.
- Click Create new, enter a Name (for example "Moderator"), switch Moderator on, choose which existing role to copy the permissions from in Inherit, and click Submit.
- Click Permissions on the new role's row. Under Manage Site, tick each AdminCP screen this role may use (for example Manage Users, Reports or the Moderation Center permissions), and click Submit.
- Open AdminCP → Users → Manage Users, click Edit on the person's account, choose the new role in
Role and click Submit.
What you should see: when that person signs in to the AdminCP, the menu shows only the screens you ticked.
A moderator role can use every member feature of the site. Roles and permissions are explained in full in Roles and permissions and Moderator roles.
Only the root account can manage other super admins. Give it a strong password and an e-mail address you will always control, and use a separate super admin account for daily work if several people share the AdminCP.
The AdminCP sign-in page asks only for e-mail and password: it has no captcha, no two-factor code and no lockout
after wrong passwords. Protect it with strong passwords on every admin account and an admin prefix other than
admin, so the sign-in page is harder to find.
Change log#
Last updated: 2026-11-17 · v1.5.6
| Date (GMT+7) | Section | What changed |
|---|---|---|
| 2026-11-17 | all | First version for 1.5.6, written from the 1.5.6 code as a guide for site owners and their admins. |
| 2026-11-17 | access, clear-cache, admin-types | Corrections after review: the exact sign-in messages and that the e-mail address is needed, who can use Clear cache, a link to the cache server guide, and how to protect the AdminCP sign-in page. |
| 2026-11-17 | admin-types | Link to the new Members and roles page. |